All our replacement parts have instructions included with their package, and are all available digitally on our website, but we know that sometimes folks just prefer a video. So we made one for replacing our small dust collector motors!
In this tutorial, we walk you through replacing a motor for the following dust collector models:
- Vanguard Series Dust Collectors
- Voyager Dust Collectors
- Van-I-Vac Dust Collectors
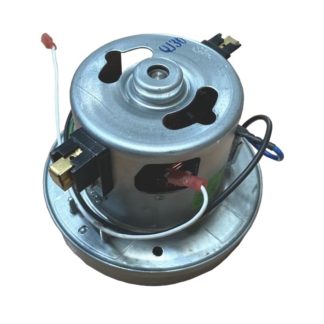
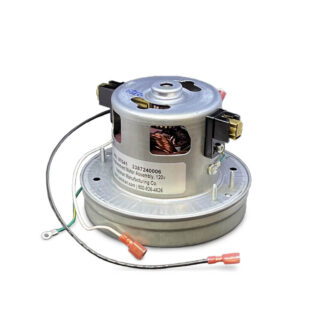
See our replacement motors available on our website for these models (make sure to select the correct one for your specific model):
Transcript:
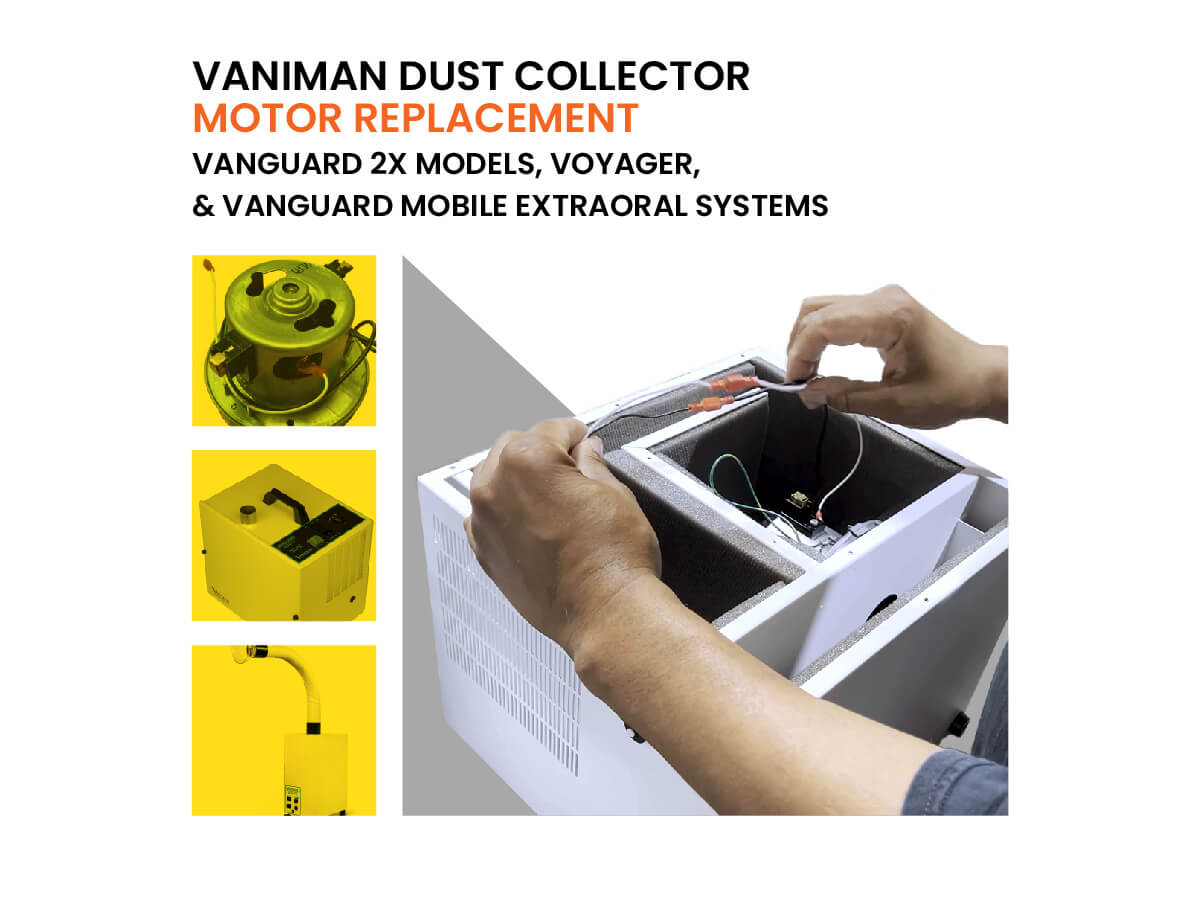
How to Replace a Vaniman Dust Collector Motor
Start by unplugging the unit’s power cord.
Remove the motor compartment side panel (save the screws to use again later).
Use a flathead screwdriver to loosen the motor clamp.
Use an 11/32” socket drive or wrench to remove the nut from the grounding stud, then remove the green grounding wire (save the nut).
Separate the black wire and white wire at their red quick-disconnects.
Replace the motor clamp and put the new motor in, making sure to set it beneath the z-shaped clips, centered over the gasket with the wires exposed and available.
Use a flathead screwdriver to tighten the motor clamp.
Place the terminal ring of the green grounding wire onto the grounding stud and reattach the nut with your 11/32” socket or wrench.
Connect black wire and white wire to their corresponding wires in the unit.
Make sure to tuck the black and white wires away.
Put the side panel back on the unit with the same screws.
Plug the unit back in and test it.
You’re ready to go!